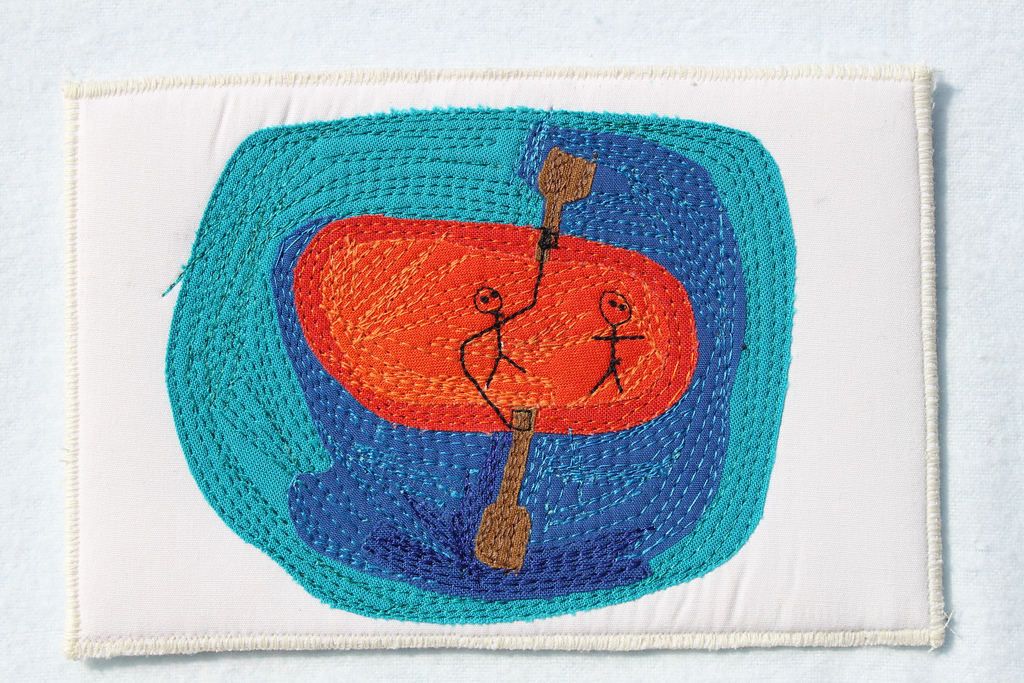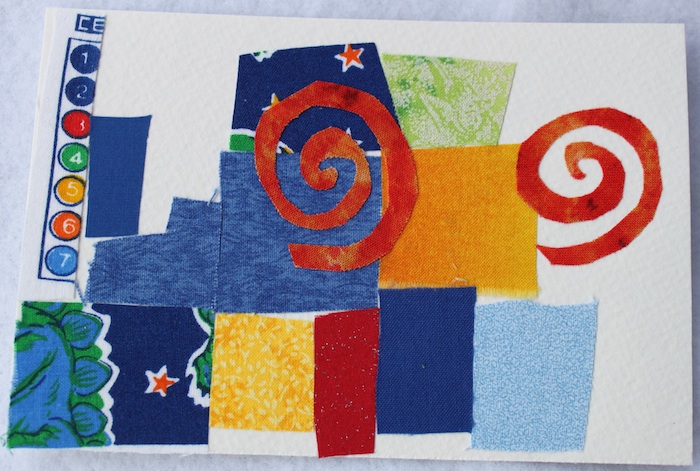
An end of year thank you note
When Doris’s son was young he drew a picture for his teacher as an end of year thank you note.
Doris, being the creative, talented quilter that she is, was inspired. What resulted was an annual tradition of taking a drawing by her son and turning it into a postcard.

Paper and fabric
Doris, of Doris Lovadina-Lee Designs, is a library technician in Toronto, Canada, that loves to teach and share her craft with others. What a cool mash-up of mediums – paper and fabric.
Not only do I love the creativity of it, but it is a novel yet functional way to send a little love in the mail.* What fun it would be to receive one of these fabric postcards.

Since we are approaching end of the school year I thought this was a fantastic idea to share in the event you too might want to give it a try. Whether you opt to go the fabric route or not, a postcard is a quick and easy way to say thank you that favorite teacher.
Doris has been gracious enough to put together some step by step directions and a list of materials you will need.
How to make your own fabric postcard:
Involve your children in an easy and creative project. They will have lots of fun making an original 4”x6” postcard using fabric scraps and embellishments. These cards can tell a story: scoring a winning goal, going on vacation. They can preserve a memory: celebrating a birthday, or adopting a pet. These very personal cards can be mailed to a favourite teacher, family member or friend. They can also be kept and displayed as miniature pieces of art.
Supplies:
4”x6” card stock (available from art supply stores or cut your own)
¼ yard fusible webbing
selection of fabric scraps
selection of embellishments: buttons, ribbon, appliqués, beads etc
6 easy steps to create a fun and original 4″x6” postcard:
1. Following the manufacturers’ instructions fuse the fusible webbing to the wrong side of your fabric scraps.
2. Cut shapes out of fabric and position onto card stock.
3. Fuse with iron according to the manufacturers’ instructions.
4. Embellish with buttons, ribbons, beads and paint.
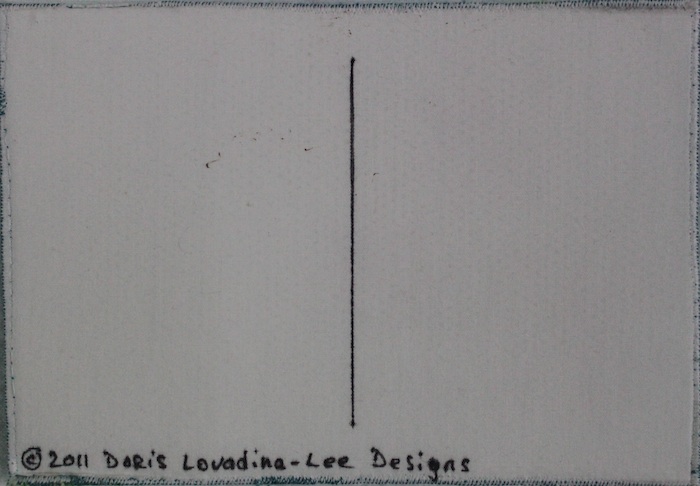
5. Write your message on the back.
6. Mail to your favorite person.
* If you choose to embellish with buttons and such, do check size and weight specifications so you know whether additional postage is required.
What do you do to say thank you to a teacher at the end of school year? Any teachers out there who can give us a suggestion?
What a neat gift! I am pinning this for sure. Thanks for sharing at #smallvictoriessunday 🙂
Hey there Betsy, so lovely of you to stop by for a visit. Thanks for the ‘pin’ too. May your Friday be full of cheer.
Hi Barb!
This fabric postcard is darling! Love it for so many reasons! Thanks for sharing!
Lovely to have you visit Amy, so glad you enjoyed the postcards. I loved the concept of giving one as a unique thank you to a teacher.